
Search the knowledge base, browse our resources, and visit our Community Forum for more detailed information
Last updated: 17 Jul 2026
KoboToolbox allows you to set different access levels for users on each project. Some users may only need to submit or view data, while others require more advanced access, such as editing forms, validating submissions, or editing data.
This article explains how to grant permissions to other KoboToolbox users to collaborate on your projects. It covers user-level permissions, row-level permissions, and copying permissions from another project.
To learn more about sharing your project with others for data collection, see Collecting data using web forms. To learn more about project-level settings for sharing your projects, see Sharing projects with project-level settings.
User-level permissions allow you to share project data with other KoboToolbox users and control their access to your form or submissions.
To set up user-level permissions:
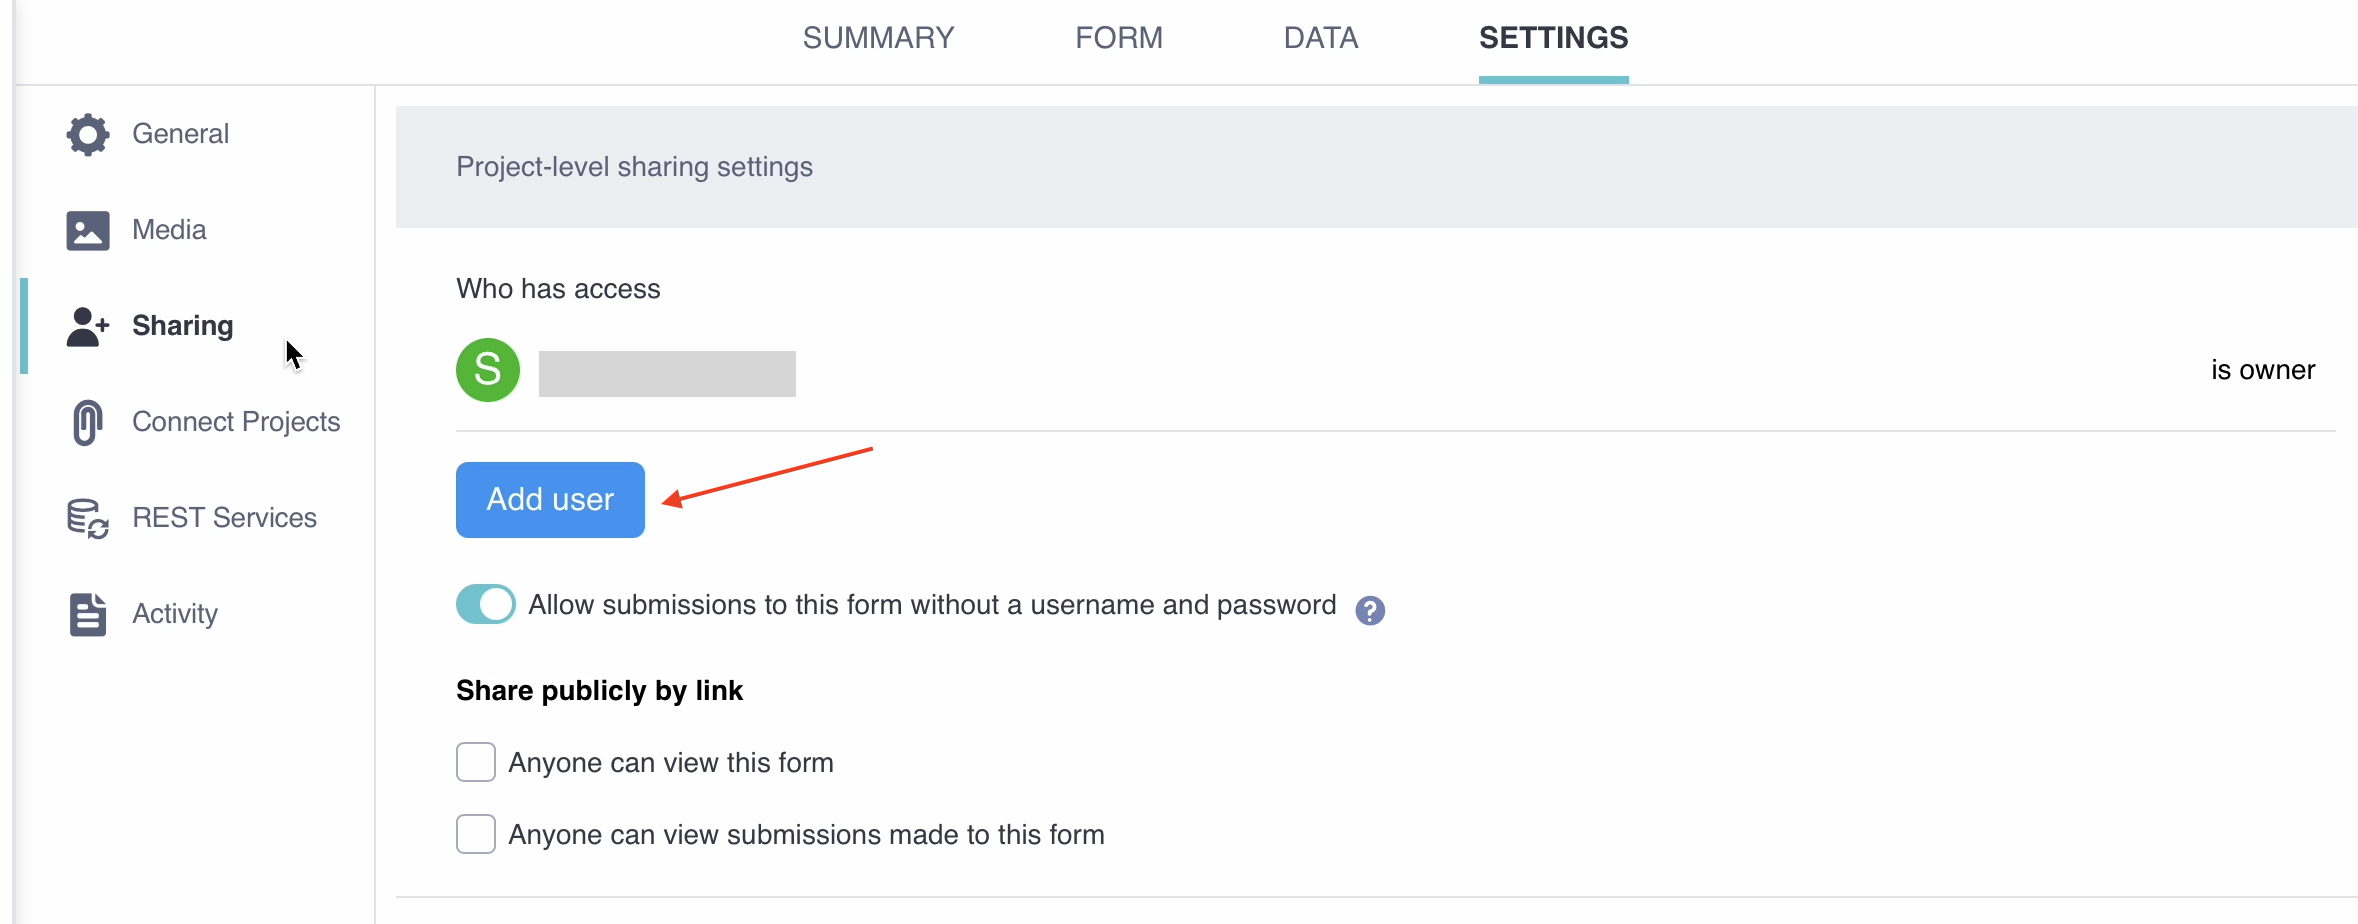
Go to the SETTINGS page of your data collection project, and click Sharing.
Under the list of users with current access, click Add user.
Enter the username of the user you want to share the form with.
Select the desired permission level.
Click GRANT PERMISSIONS.
The following permissions are available:
Permission |
Description |
|---|---|
View form |
User can preview the form. |
Edit form |
User can edit the form. |
View submissions |
User can view submitted data. |
Add submissions |
User can submit data using the form. |
Edit submissions |
User can edit submitted data. |
Validate submissions |
User can approve or reject submitted data. |
Delete submissions |
User can delete submitted data. |
Manage project |
User can do all of the above and manage project settings. |
Note: When certain permissions are granted, other permissions are also automatically granted. For example, if a user is granted Add submissions permission, they will also be granted View form permission automatically.
Row-level permissions allow you to set viewing, editing, validating, and deleting permissions for submissions based on predefined conditions. These permissions can be:
Only from specific users: User-based permissions allow you to share project data with another KoboToolbox user only when submitted by specific users. This can be useful for allowing data collectors to view and edit their own submissions without accessing data from other collectors.
Based on a condition: Condition-based permissions grant access to project data based on a response to a question on your form. For example, this can be used to share data collected before a certain date or for a specific region.
To add user-based permissions:
Open your project and navigate to the SETTINGS tab.
Go to the Sharing section.
Click Add user and enter the username of the user you want to share the project with.
Select the user-based permissions you want to allow (View, Edit, Delete, and/or Validate).
Below each permission, enter the username(s) for the users whose submissions you are granting the user access to. Usernames should be separated by commas.
Click Grant permissions to save your permissions settings.
Once you have saved your permissions, the user you have shared the project with will be able to view, edit, validate, or delete the project data submitted by the specified usernames, depending on the permissions selected.
To add condition-based permissions:
Open your project and navigate to the SETTINGS tab.
Go to the Sharing section.
Click Add user and enter the username of the user you want to share the project with.
Select the condition-based permissions you want to allow (View, Edit, Delete, and/or Validate).
Open the Select… drop-down menu to display the full list of form questions and select the question that should be used to filter which submissions are shared with the user.
On the right side of the equal sign (=), enter the response value that must be met.
Click Grant permissions to save your permissions settings.
Once you have saved your permissions, the user will be able to view, edit, validate, or delete project data submissions that meet the specified condition, depending on the permissions selected.
Response values must follow a specific format for the condition to work:
Question type |
Format |
|---|---|
Date |
|
Select One and Select Many |
XML value/choice name (e.g., |
Number and Decimal |
A specific integer or decimal number |
To copy team permissions from another project:
Open the Sharing tab in the SETTINGS page of your project.
Click on “Copy team from another project”.
Select the project from which you wish to copy permissions.
Note: This will overwrite any existing sharing settings on the project you are adding the permissions to.
If KoboToolbox cannot find a user you are trying to share a project with:
Projects can only be shared with users on the same server (i.e., the Global KoboToolbox Server or the European Union KoboToolbox Server).
developer will not match software_developer. Write the full value you expect, or adjust your form so the exact value is captured.
Did you find what you were looking for? Was the information clear? Was anything missing?
Share your feedback to help us improve this article!