
Search the knowledge base, browse our resources, and visit our forum for more detailed information
Last updated: 1 Nov 2022
There are two methods to adding multiple languages to your form. You can either add and manage them directly through the online Project Dashboard or you can add them in an XLS Form and upload it to Kobo.
Here are detailed instructions on how you can add and manage another language in your form through the online Project Dashboard:
Create your form in the default language either by using the formbuilder or setting the form up as an XLS file and then upload it directly to KoboToolbox. The default language should be the language that the person responsible for designing the questionnaire is most comfortable with.
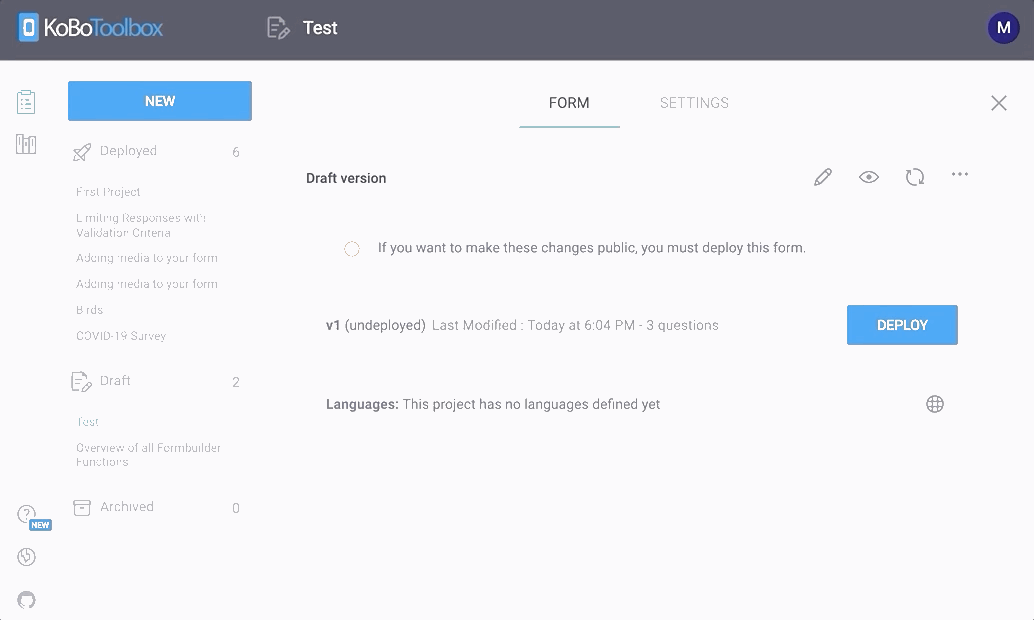
When you are done, or when a significant portion of the form has been created, save it. You’ll be returned to the draft form’s project dashboard.
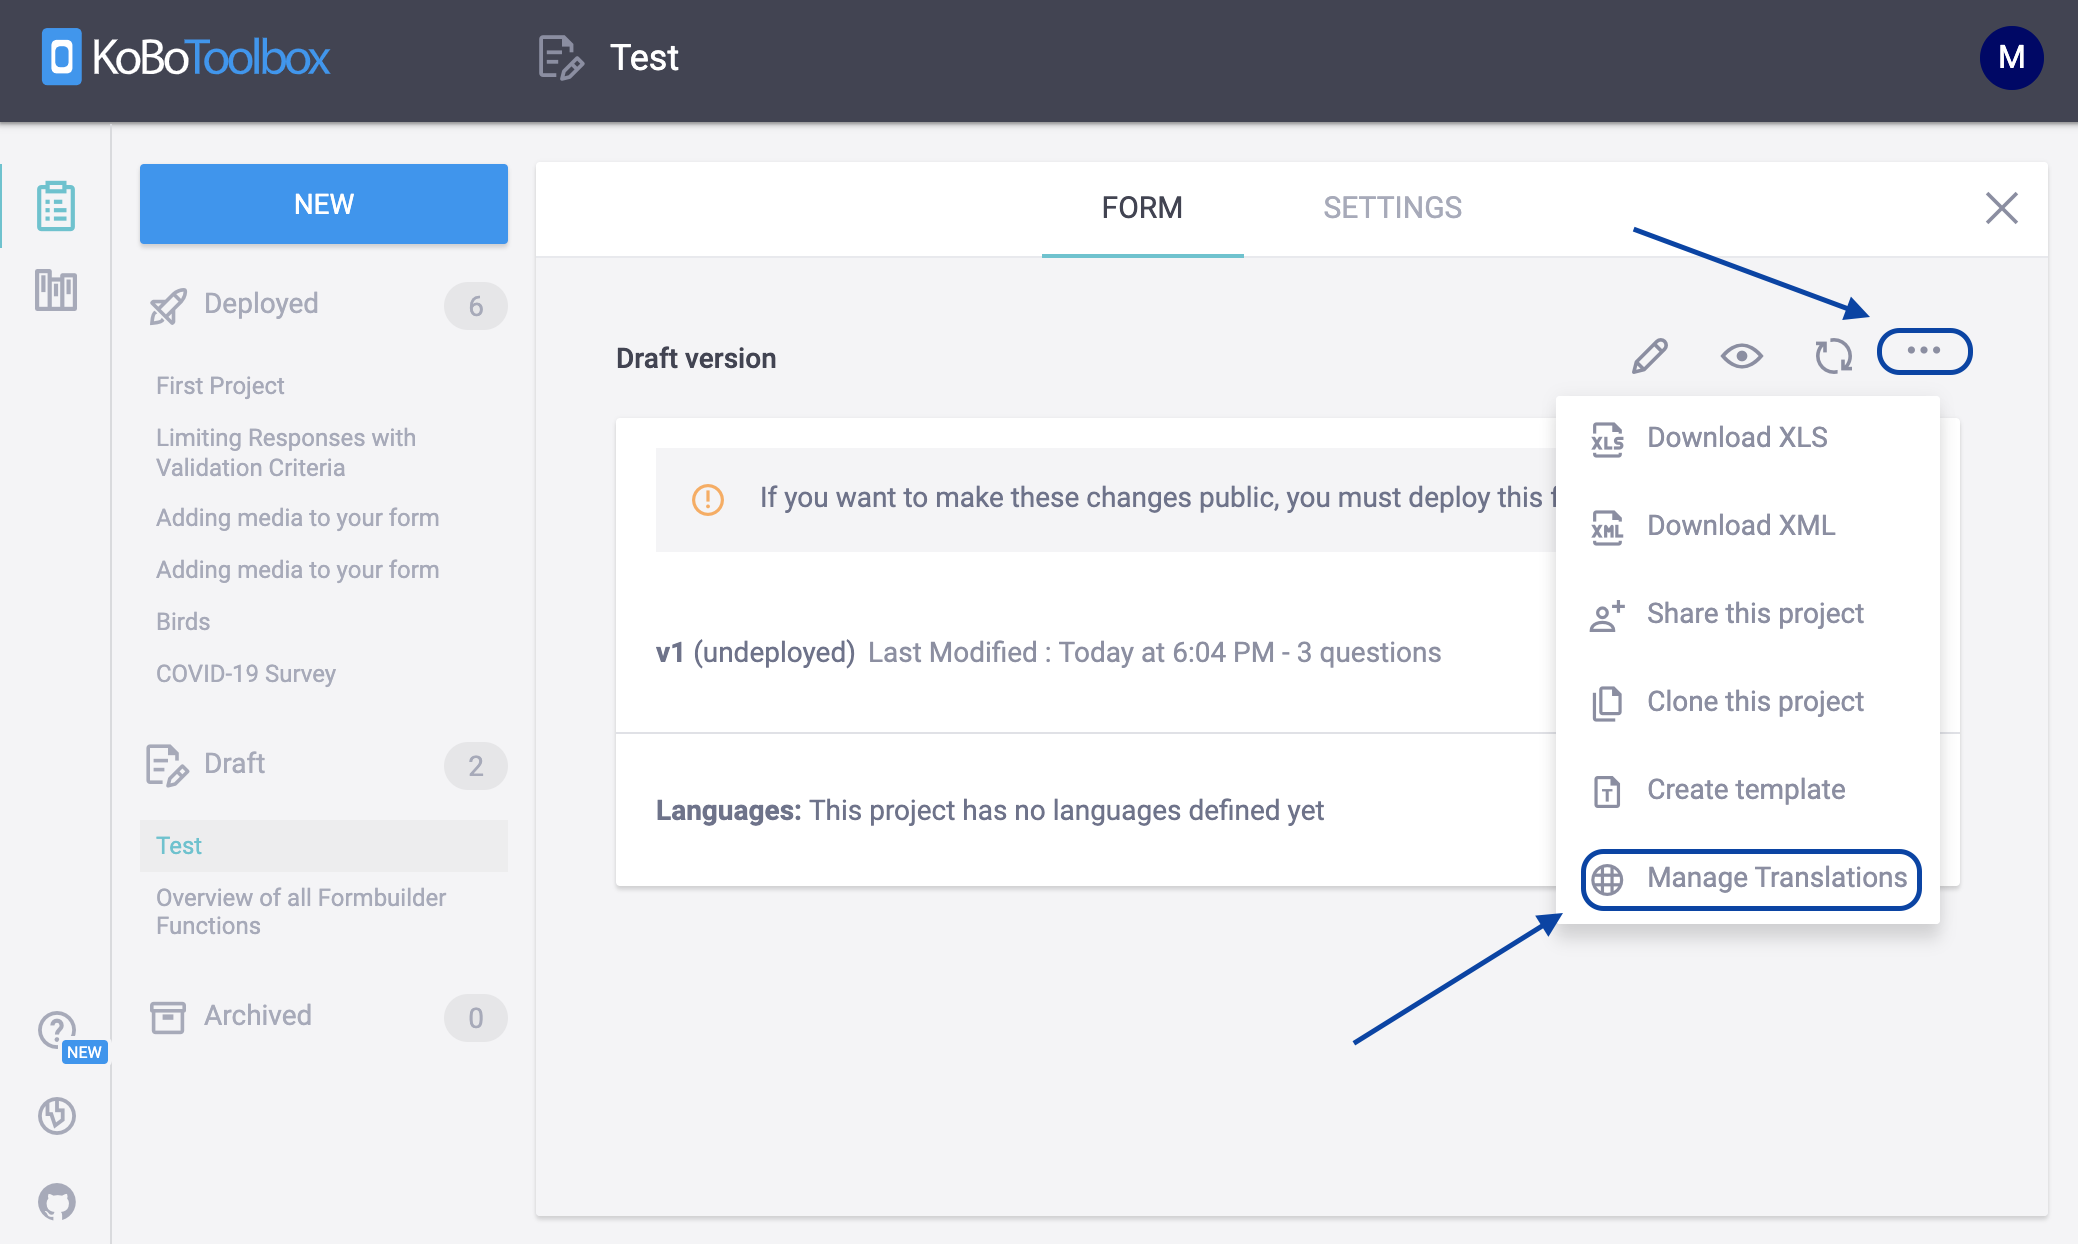
Find and click on the ‘More Actions’ icon (3 dots). In the drop down menu that appears, click on ‘Manage Translations’.
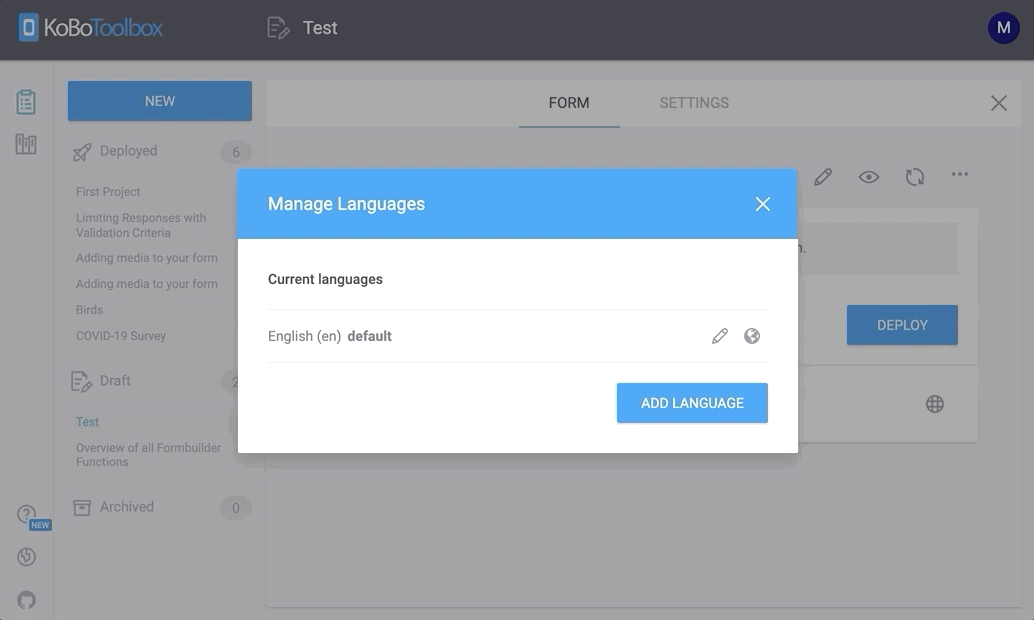
Before adding additional languages, first set your default language by clicking on the pencil icon and filling in the ‘Language name’ and ‘Language code’ fields.
Tip: If you’re unsure of what your language code is, you can search through the entire list of language codes here. If you cannot find your language, its possible it has been labeled as something else and is worth searching online for alternative names.
Examples: English (en), German (de), Arabic (ar), etc.
Once the default language has been set, click on the ‘Add Language’ button to fill in the language name and code for the new language being added.
After the new language has been added, click on the ‘Update translations’ icon (world) to the right of the language title to open up the ‘Translations Table’ for that language.
Fill in the translations with correct associated original strings in the table view and then click ‘Save Changes’ when finished. Then close out the table view by clicking on the ‘x’ button in the top right of the table.

Back in the project dashboard click on ‘Preview’ icon (eyeball) to open a preview of the form. At the top next to Choose Language click on the dropdown. It will have default (your original language) as well as the new language(s) you just added.
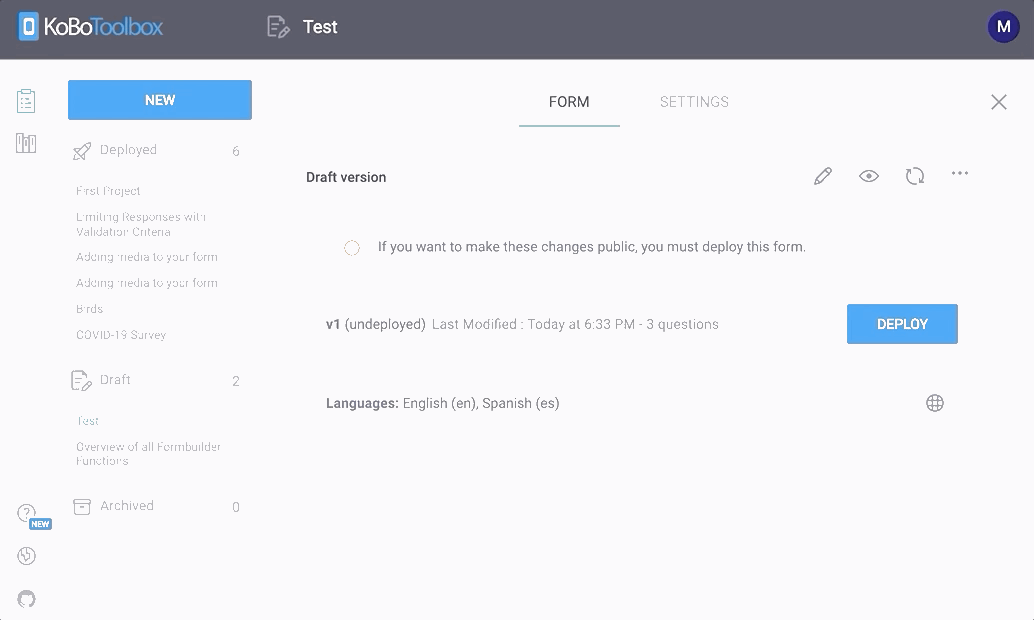
Repeat steps for any additional languages.
Additional Tips:
Changing the default language
The default language should be the most common language used during data collection. To change the default language, click on ‘Manage Translations’ and then click on the icon that appears to the right of the intended language when your mouse hovers over it.

Translating right-to-left scripts
When adding a language that uses right-to-left script, it is important to use the correct language code, however even if the correct code is used, if the first question, hint, or note is written in a left-to-right script, the form will automatically format the rest of the translation to a left-to-right format.
Did you find what you were looking for? Was the information clear? Was anything missing?
Share your feedback to help us improve this article!